The following will guide your client installation for Windows
When access has been granted to the Myota bucketZero Workspace an automated “Welcome to Myota” email will be sent. This will include the option to set your password and install the Myota Desktop client.
You can additionally access the client installation software from https://kb.myota.io/myota-downloads by choosing the correct desktop or mobile app.
The Client installation wizard takes you step-by-step through configuration options and account setup. Installation on Windows is the same as for any software application: download the program and then double-click it to launch the installation, and then follow the installation wizard. After it is installed and configured the sync client will automatically keep itself updated.
For Windows
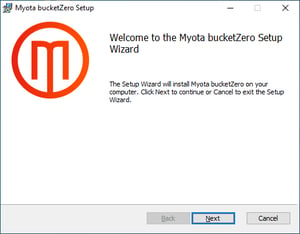
- Click Next
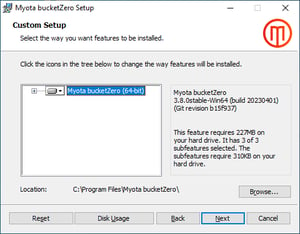
- Click Next, leave all options as is.
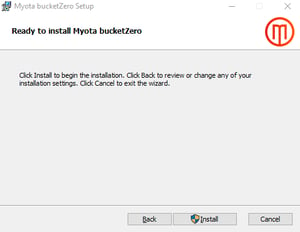
- Click Install
- Click on the Next button and for any further prompt, when done click Finish. Windows may also prompt you to verify the installation, in which case, click Yes. If prompted to restart your system, you can click Yes.
- After restarting your system, you will be required to configure the agent connection to bucketZero.
- To establish a connection with your bucketZero client, please follow this link - https://kb.myota.io/connect-the-to-bucketzero-client-to-your-workspace.